Namespaces Core Concepts
After reading this post, you will:
- Have a high level understanding of namespaces in kubernetes.
- Know the basic commands related to namespaces.
Let's take a step back and begin with a simple analogy that will help build some intuition.
Imagine there are two boys, both named Luis.
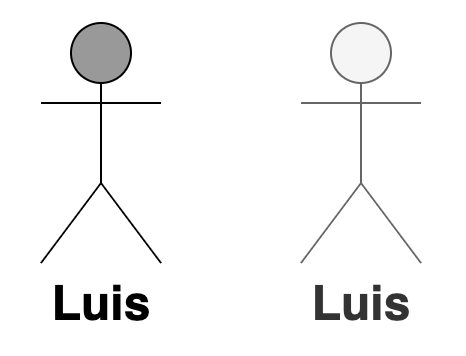
To differentiate them from each other, call them by their last names: Perez and Chavez.
They come from different houses: the Chavez and the Perez.
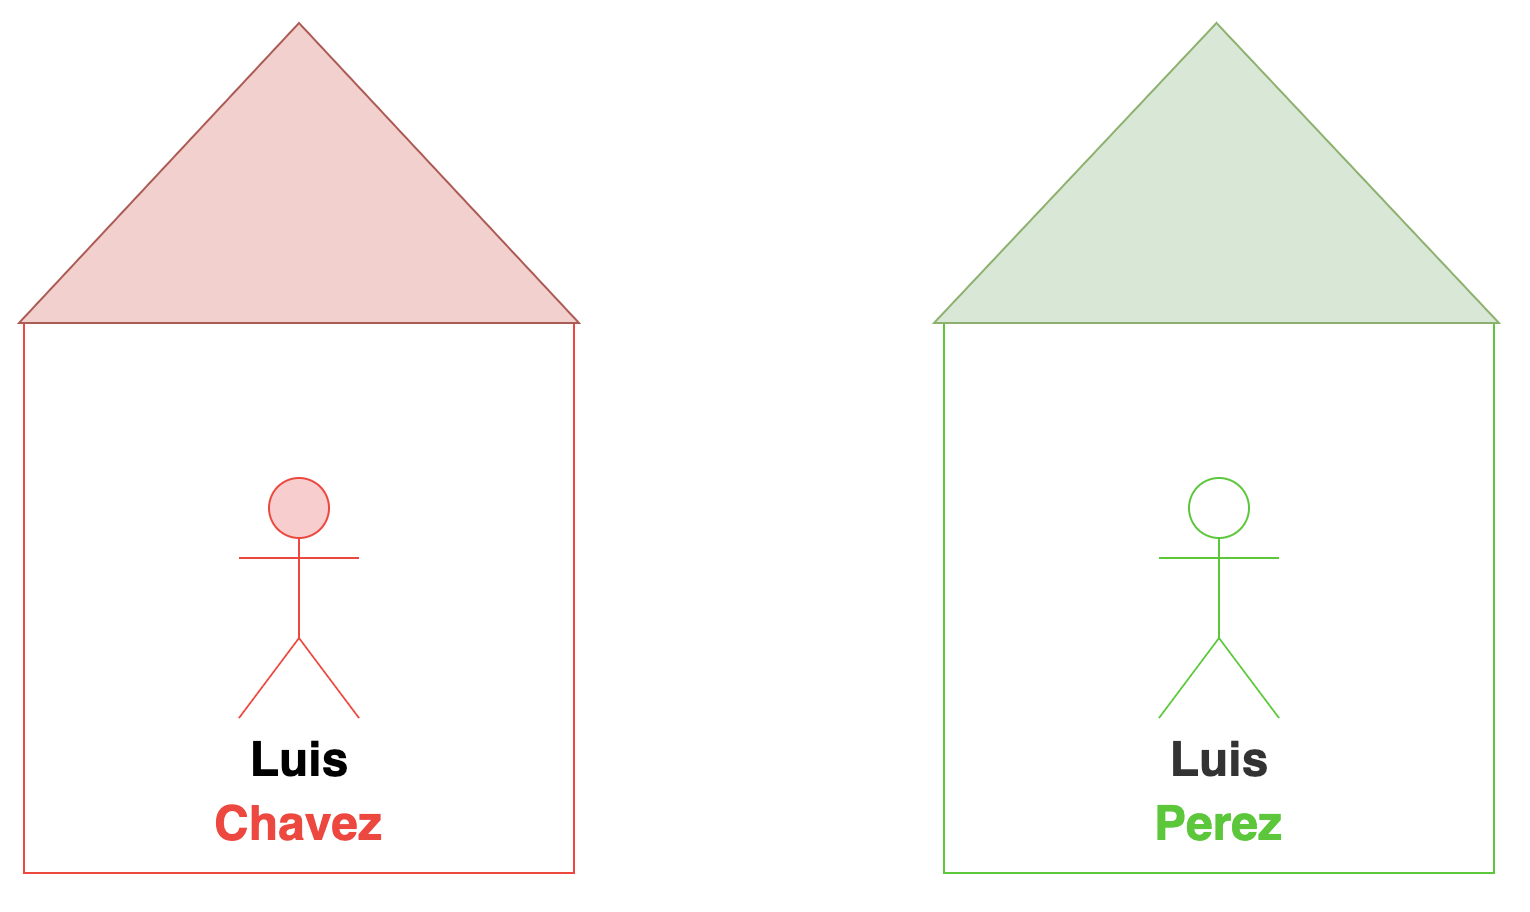
There are other members in the house, and these refer to each other simply by their first names.
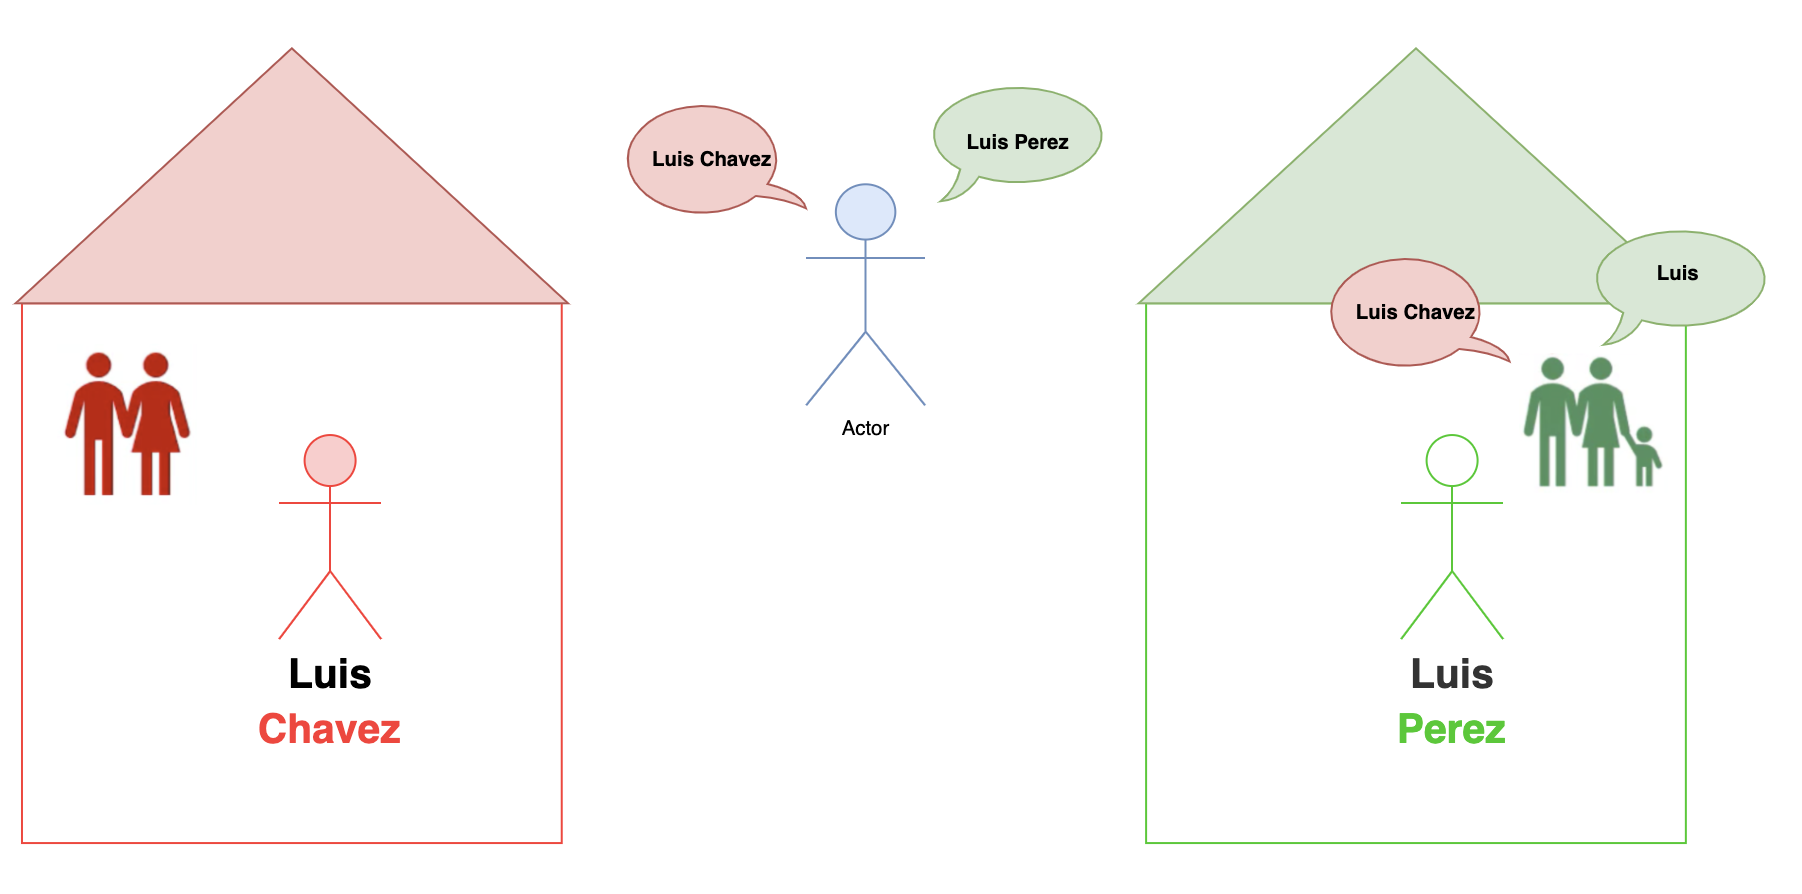
For example, the father addresses Luis simply as "Luis".
However, if the father wishes to address Luis from the other house he would use his full name.
Likewise, someone outside of these houses would also use the full name to refer to the boys or anyone within these houses.
Each of these houses have their own set of rules that defines each person's responsibilities. Likewise, these houses have a set of resources that they can consume.
Back to Kubernetes
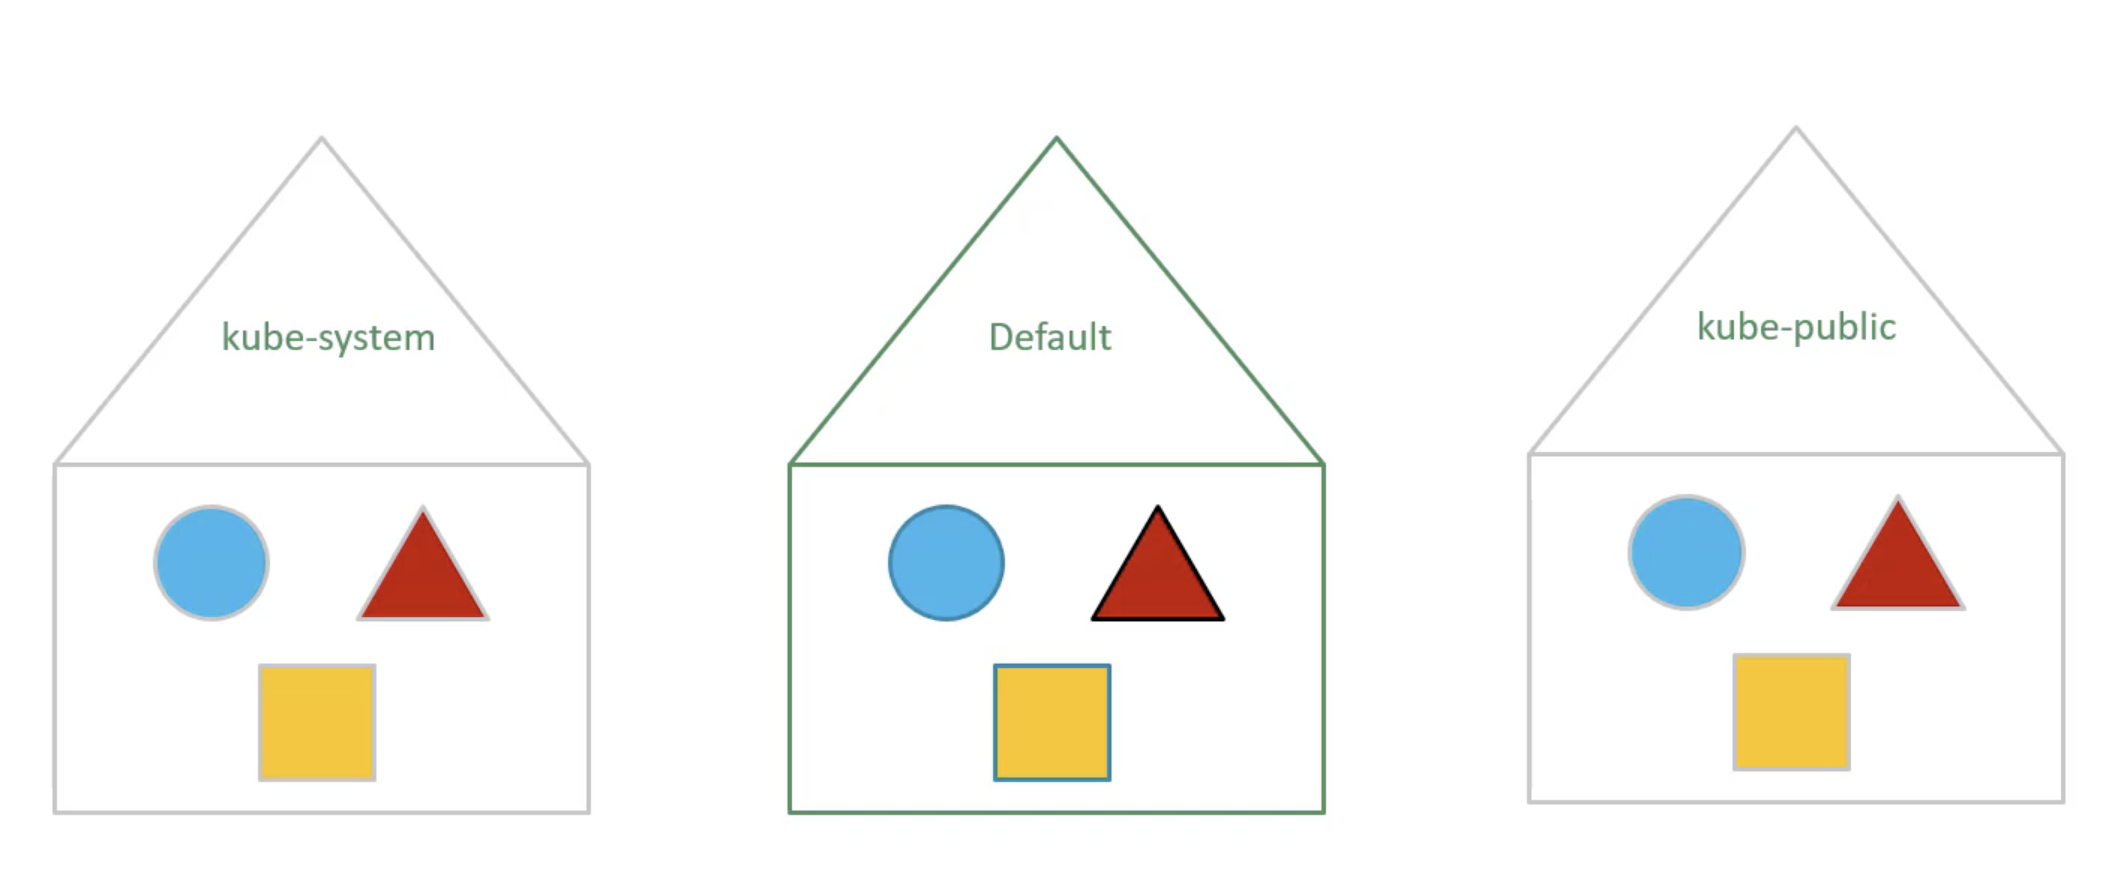
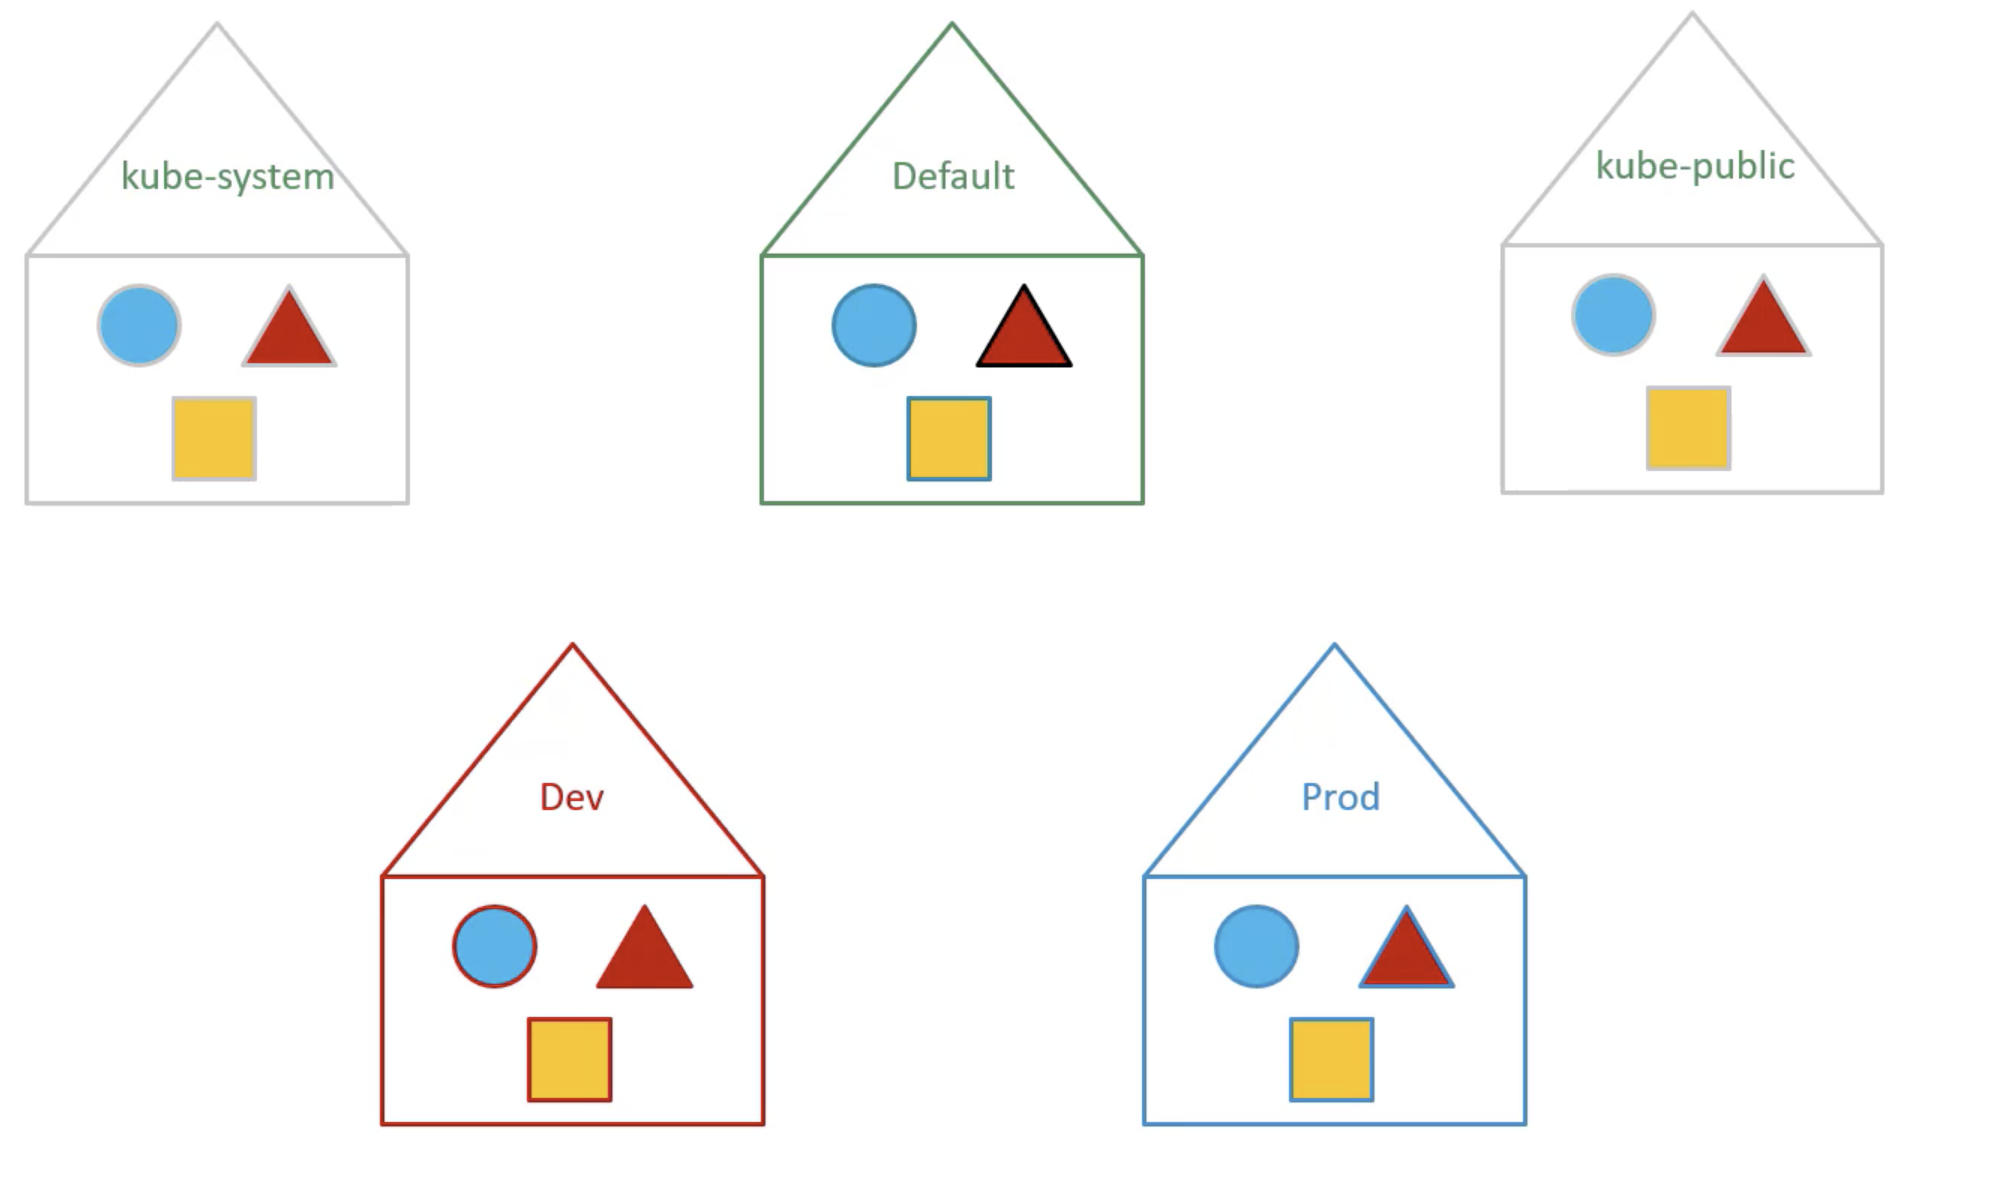
As you might have guessed, the houses correspond to namespaces in kubernetes.
Whenever you create a kubernetes object without specifying a namespace, the object is placed in the "default" namespace.
When the cluster is first set up, kubernetes creates a set of pods and services for its internal management such as:
- ETCD server
- Scheduler
- API Server
- Controller Manager
These are known as the control plane components in kubernetes.
In order to isolate these from the user and to prevent you from accidentally deleting or modifying these services, kubernetes creates them under another namespace created at cluster startup named kube-system.
Another namespace created automatically by kubernetes is called the kube-public namespace. This is where resources that should be made available to all users are created.
If your environment is small you shouldn't really have to worry about namespaces, you could continue to work in the default namespace.
However, when you grow and use a kubernetes cluster for enterprise or production purposes, you may want to consider the use of namespaces.
For example, if you wanted to use the same cluster for both dev and production environment but at the same time isolate the resources between them, you can create a different namespace for each of them.
That way, while working in the dev environment you don't accidentally modify a resources in production.
Each of these namespace can have its own set of policies and permissions.
You can also assign a quota of resources for each namespaces, such that each namespace does not use more than it should.
Default Namespace
Just like how the members within a house refer to each other by their first names. The resources within a namespace can refer to each other simply by their names.
Let's look at an example to illustrate:
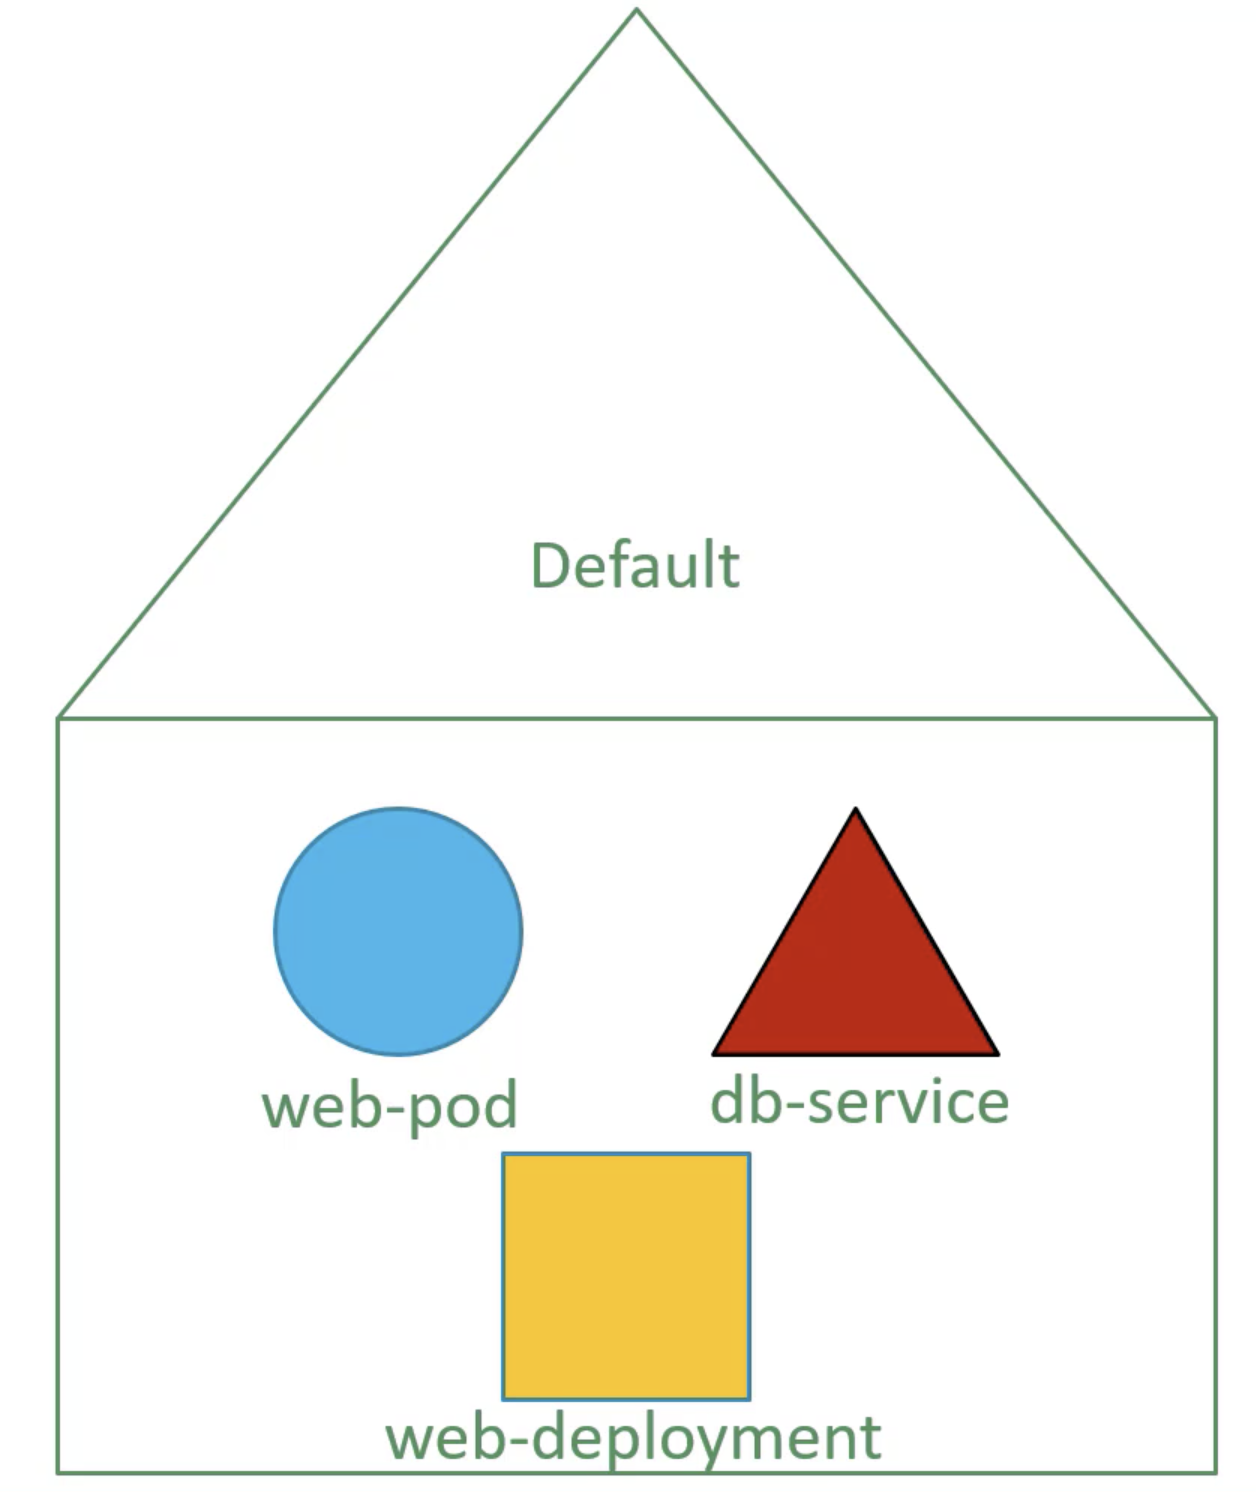
As mentioned previously, since these kubernetes objects are in the same namespace, the web app POD can reach the db service by simply using the hostname db-service if required.
mysql.connect("db-service");If a resource wishes to communicate with a resource located in a different namespace. You must append the name of the namespace to the name of the service.
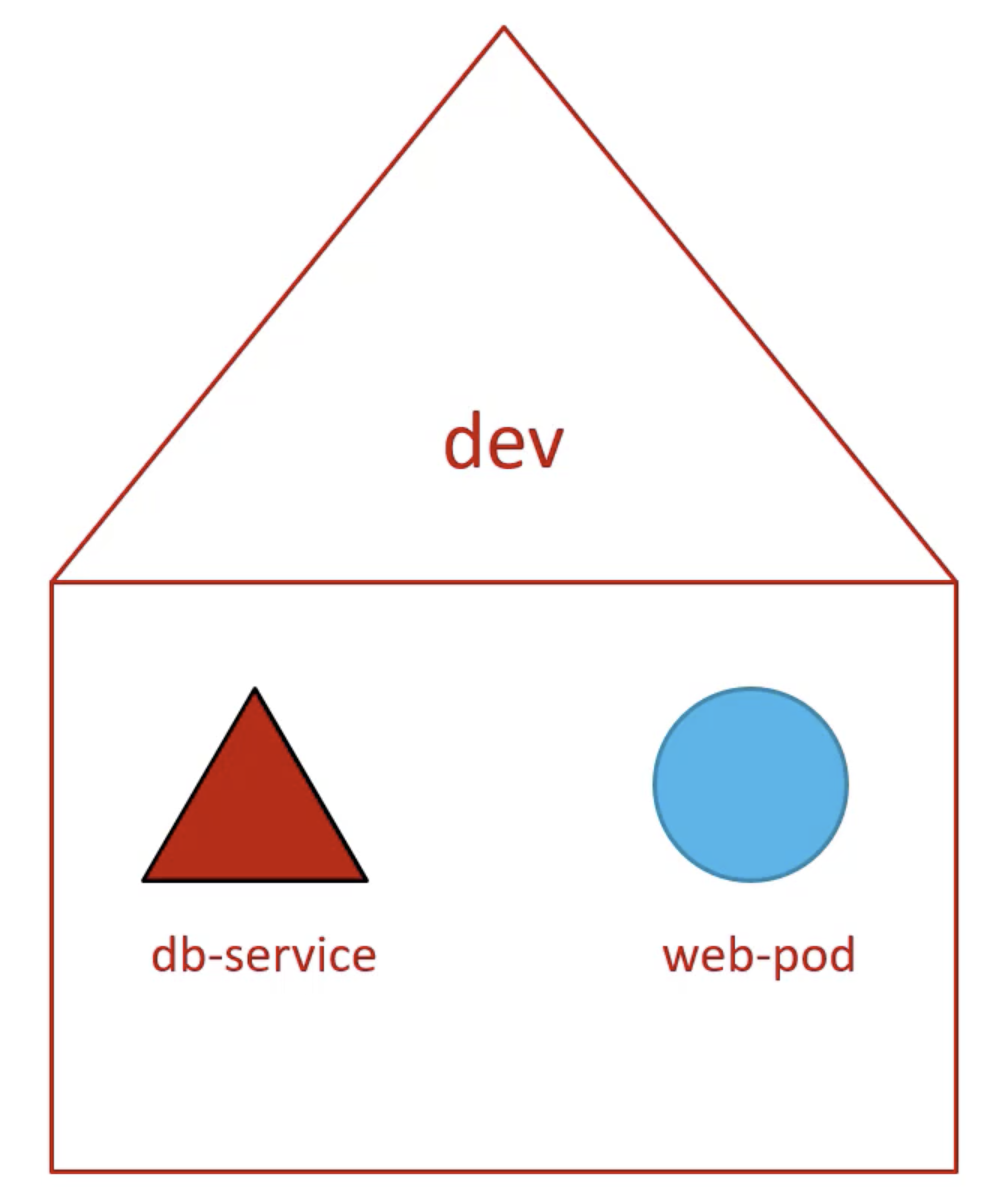
For example, for the web pod in the default namespace to connect to the database in the dev namespace.
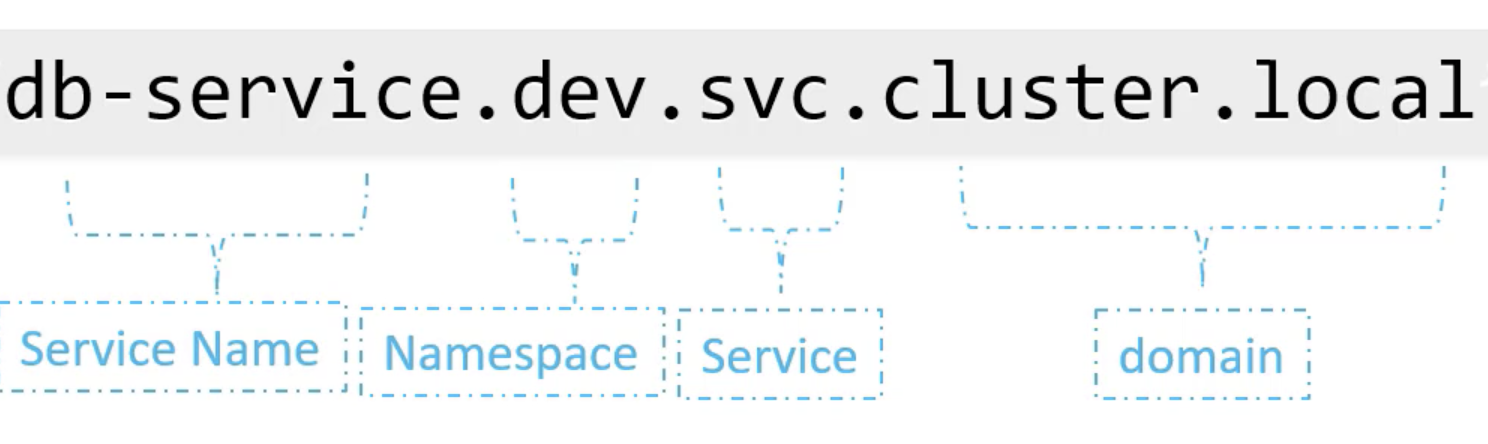
mysql.connect("db-service.dev.svc.cluster.local");You're able to do this because when the service is created, a DNS entry is added automatically in this format.
Relevant Commands
The following command is used to list all the pods but it only lists the pods in the default namespace:
kubectl get podsTo list pods in another namespace:
kubectl get pods --namespace=[NAMESPACE_NAME]Example
Here I have a pod definition file:
pod-definition.yaml:
apiVersion: v1
kind: Pod

metadata:
  name: myapp-pod
  labels:
    app: myapp
    type: front-end
spec:
  containers:
    - name: nginx-container
      image: nginx
To create the POD object:
kubectl create -f pod-definition.yamlWhen you create a pod using this file, since no namespaces is specified, the pod is created in the default namespace.
To create a pod in another namespace use the --namespace option.
kubectl create -f pod-definition.yaml --namespace=devIf you want to make sure that this POD gets created in the dev environment without adding the --namespace option. Add the namespace option under metadata as such:
apiVersion: v1
kind: Pod

metadata:
  name: myapp-pod
  namespace: dev    #New

  labels:
    app: myapp
    type: front-end
spec:
  containers:
    - name: nginx-container
      image: nginx
This is a good way to ensure your resources are always created in the same namespace.
Creating Namespaces
There are a couple ways to create a namespace in kubernetes.
- Use an namespace definition file:
In namespace-dev.yaml:
apiVersion: v1
kind: Namespace
metadata:
  name: dev
kubectl create -f namespace-dev.yaml- Without a YAML definition file.
kubectl create namespace devIf you wish to switch from the default namespace, run the following command:
kubectl config set-context $(kubectl config current-context) --namespace=devThis previous command switches the current namespace by modifying the kubeconfig file.
Finally, to view pods in all namespace:
kubectl get pods --all-namespacesThis will list all the pods in all of the namespaces.
Limiting Namespace Resources
To limit resources in a namespace.
Create a resource quota definition file and specity the namespace for which you want to create the quota:
compute-quota.yaml
apiVersion: v1
kind: ResourceQuota
metadata:
  name: compute-quota
  namespace: dev

spec:
  hard:
    pods: "10"
    requests.cpu: "4"
    requests.memory: 5Gi
    limits.cpu: "10"
    limits.memory: 10Gi
You can of course change these specifications to fit your needs.
And finally, create the quota object:
kubectl create -f compute-quota.yaml