Kubernetes POD: Concepts Overview
After reading this post, you will have a clear understanding of the advantages of using kubernetes PODS.
Before we head into understanding PODs, let's assume the following have been set up already:
The application is already developed and built into Docker Images and it is available on a Docker repository such as Docker hub, so kubernetes can pull it down.
The Kubernetes cluster has already been setup and is working, which could be a single-node setup or a multi-node setup,
All the services need to be in a running state.
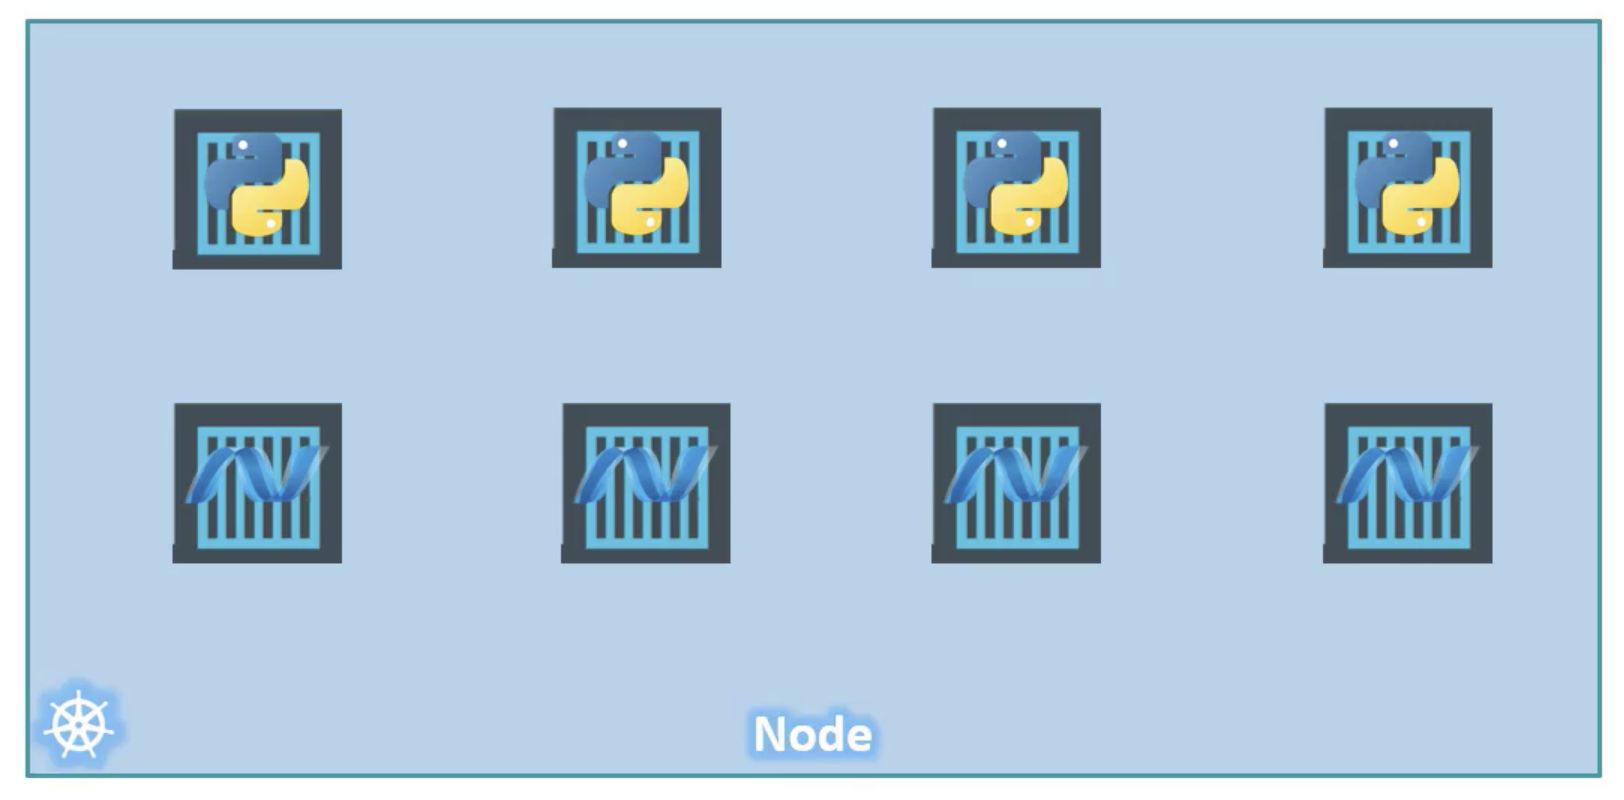
As discussed in the kubernetes architecture post, our ultimate goal is to deploy our application in the form of containers on a set of machines that are configured as worker nodes in a cluster.
However, kubernetes does not deploy containers directly on the worker nodes.
The containers are encapsulated into a Kubernetes object known as PODs. A POD is a single instance of an application.
A POD is the smallest object, that you can create in kubernetes.
Example
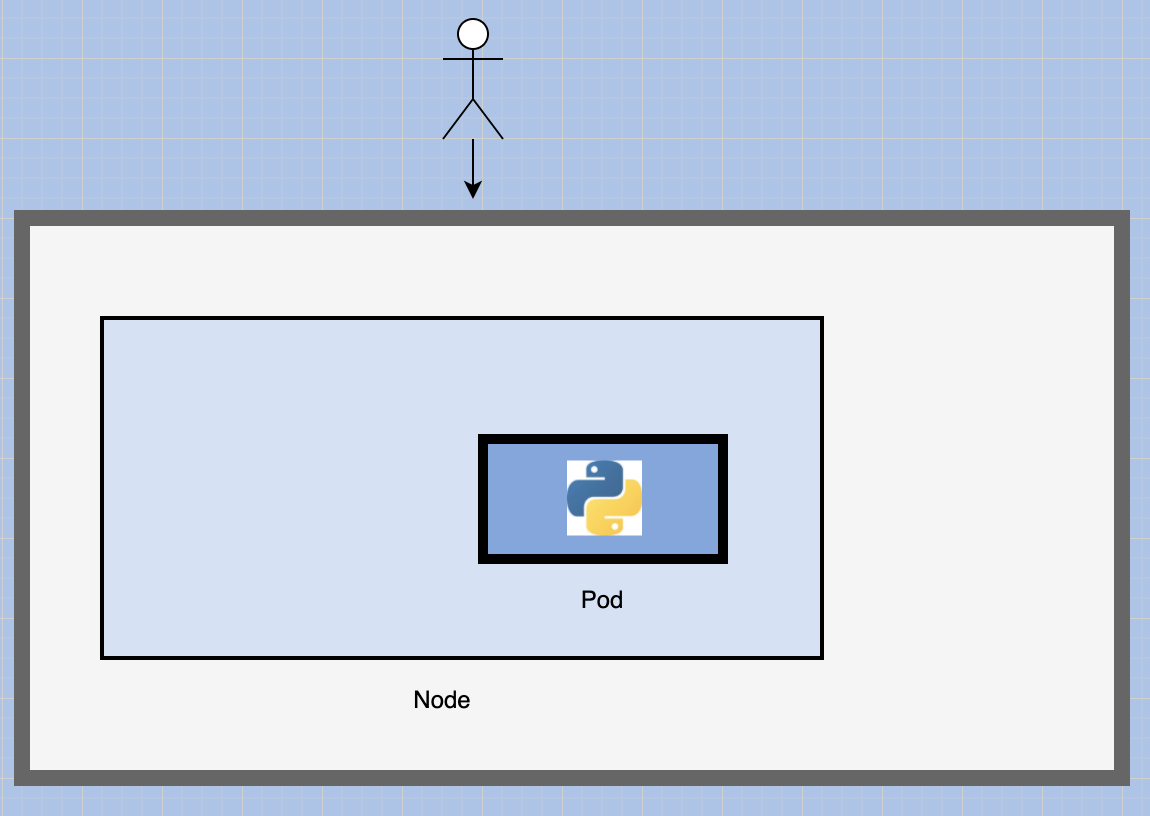
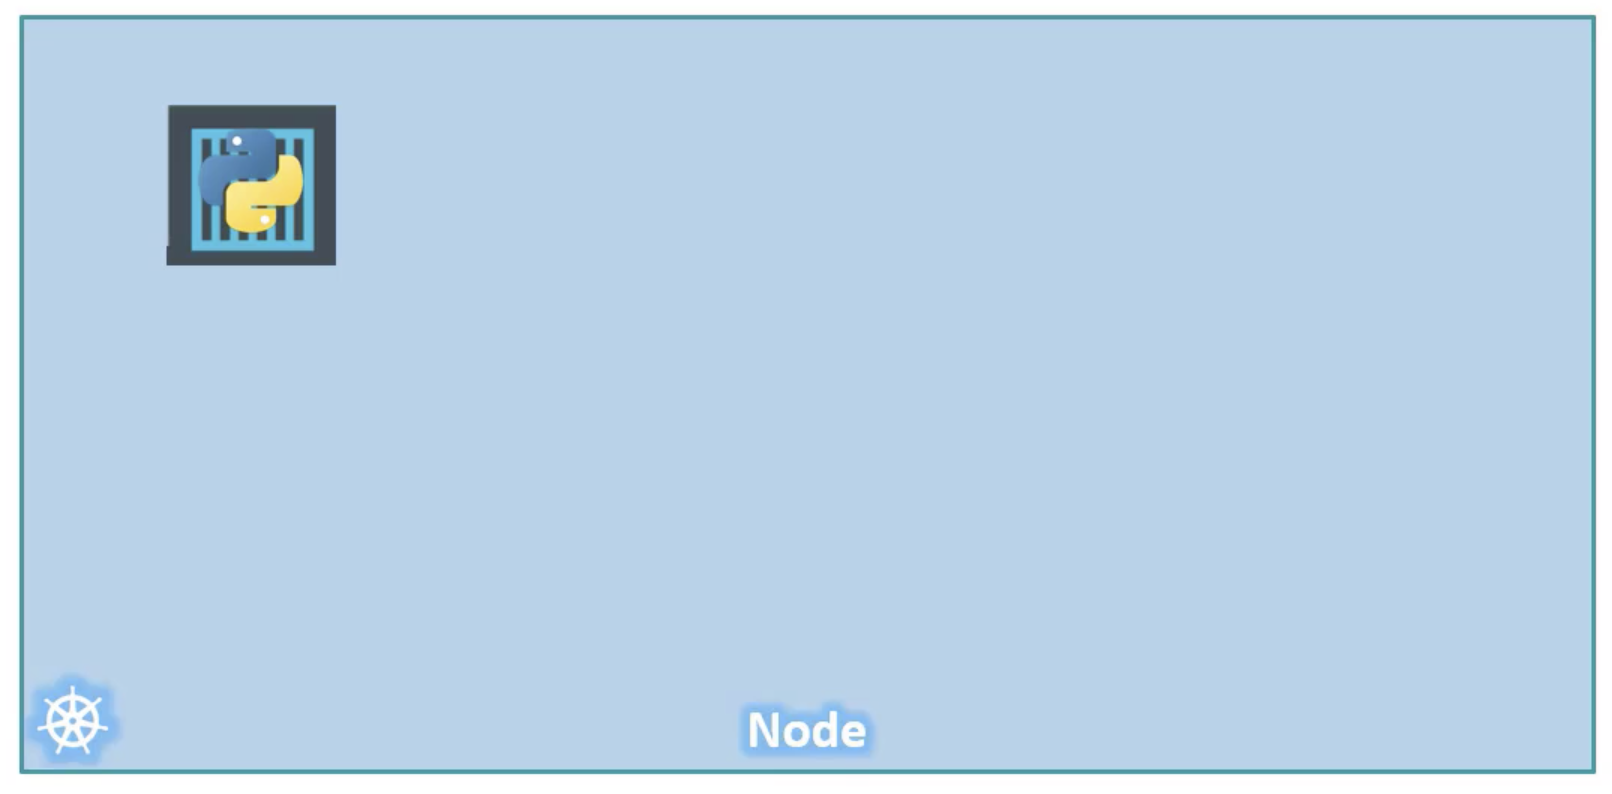
Illustrating with the simplest of cases were you have a single node kubernetes cluster with a single instance of your application running in a single docker container encapsulated in a POD:
What if the number of users accessing your application increases and you need to scale your application?
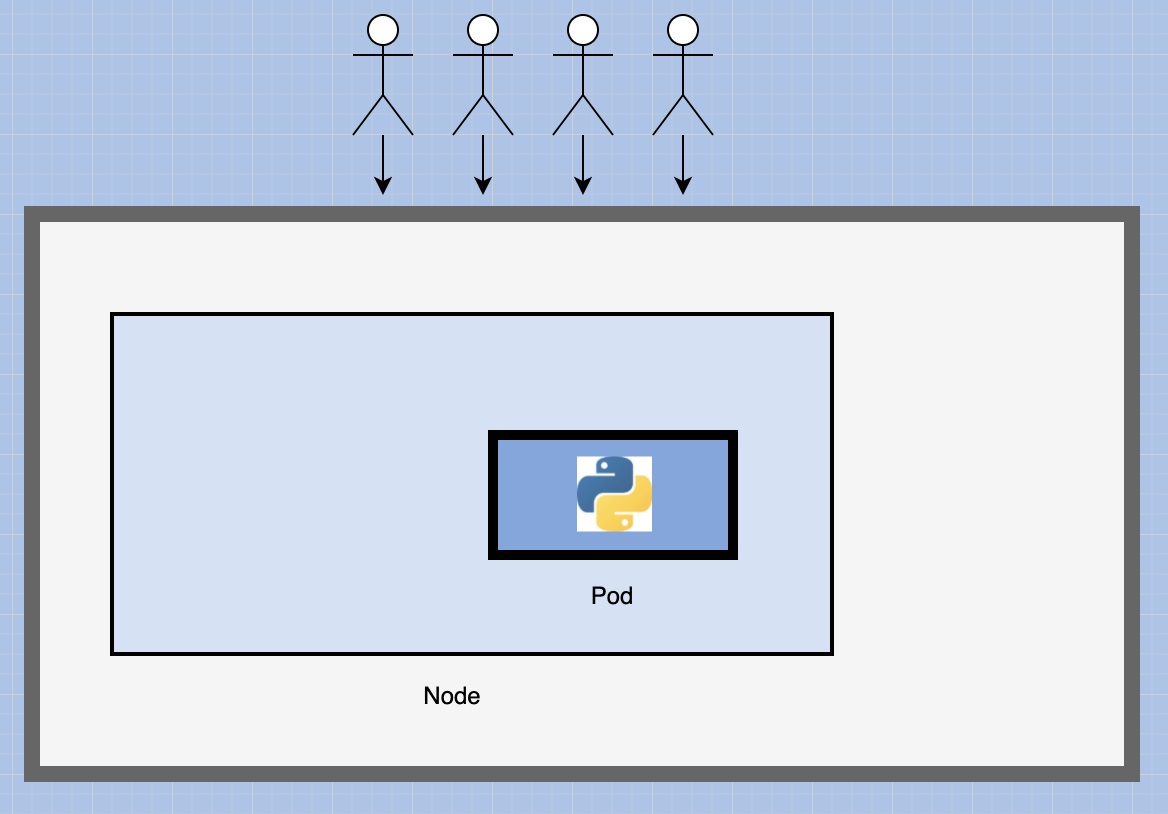
You need to add additional instances of your web application to share the load.
Now, where would you spin up additional instances?
Do we bring up a new container instance within the same POD?
No.
We create a new POD altogether with a new instance of the same application.
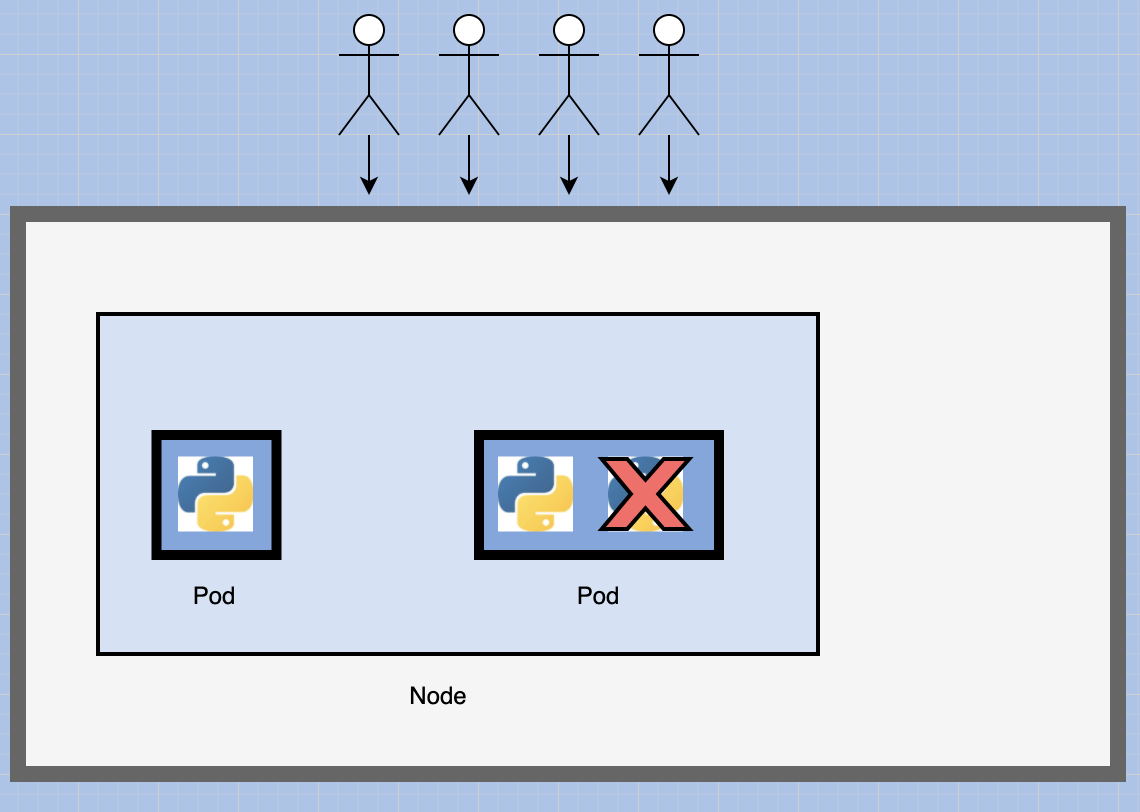
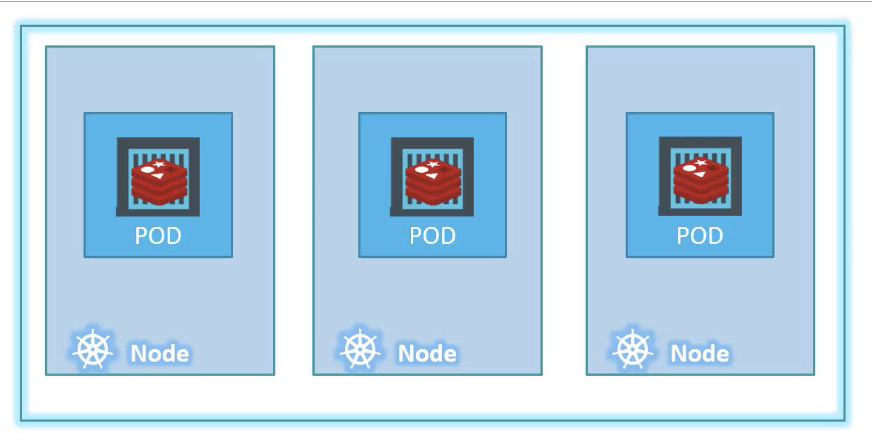
Now we have two instances of our web application running on separate PODs on the same kubernetes system or node.
What if the user base further increases and your current node has no sufficient capacity?
In that case, you can always deploy additional PODs on a new node in the cluster.
You will have a new node added to the cluster to expand the clusters physical capacity.
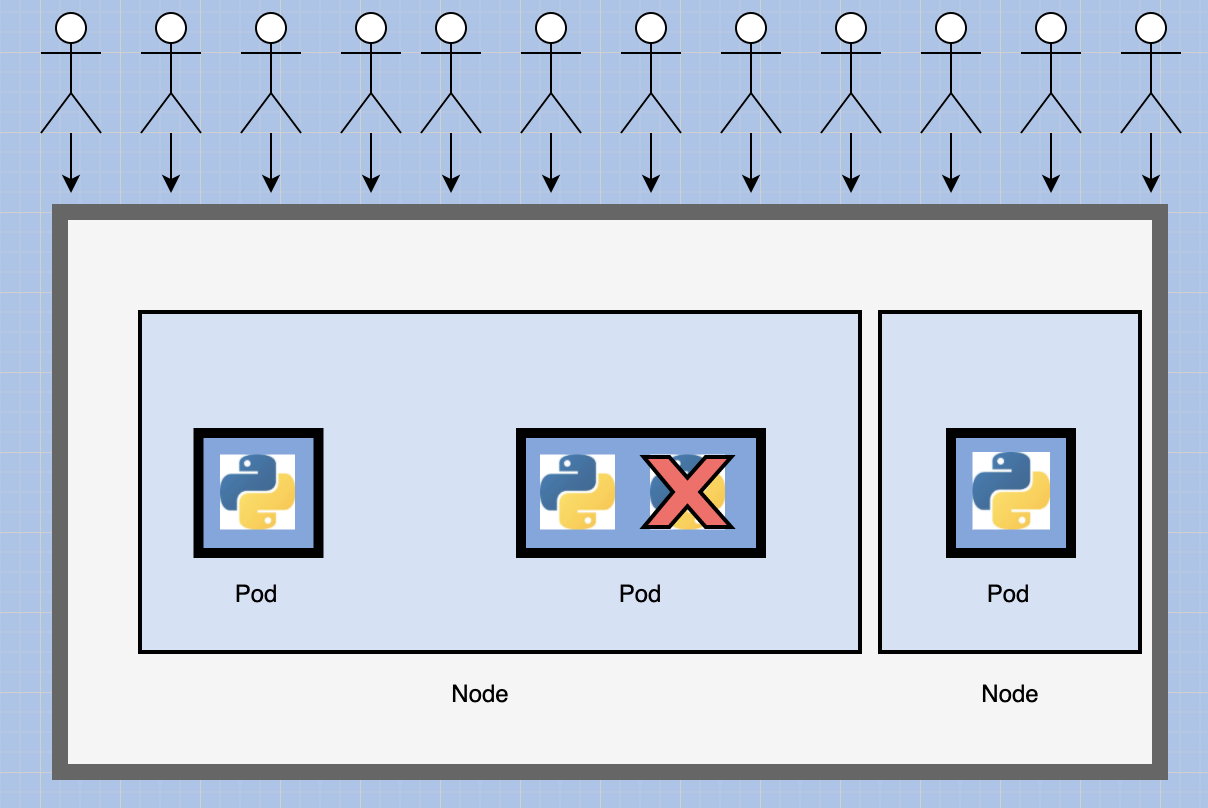
So what I am trying to illustrate is that PODs usually have a one to one relationship with containers running your application.
- To scale up, you create new PODs
- To scale down, you delete existing PODs.
You do not add additional containers to an existing pod to scale your application.
We will discuss how we implement load balancing between the containers in a later post. For now, we are only trying to understand the basic concepts.
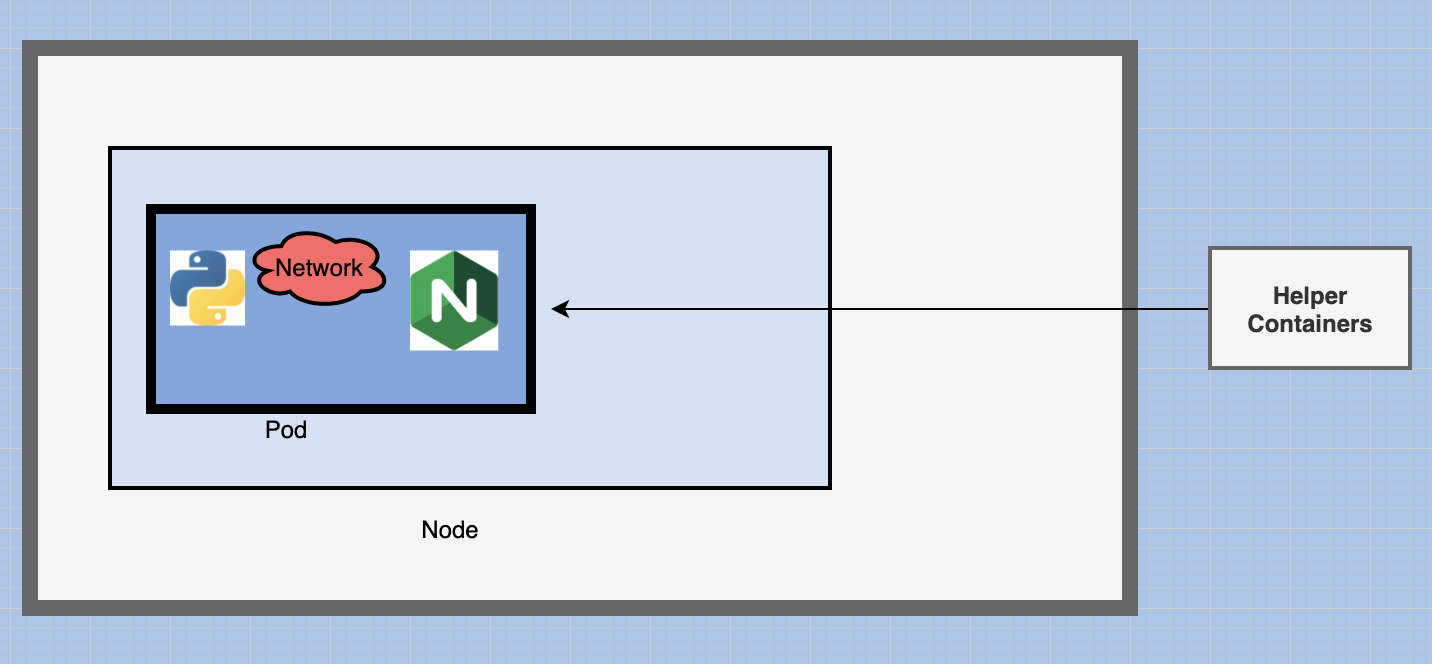
Are we restricted to having a single container in a single POD?
No.
A single pod can have multiple containers except for the fact that they're usually not multiple containers of the same kind.
As we previously discussed, if our intention was to scale our application, then we would need to create additional PODs.
But sometimes you might have a scenario were you have a helper container that might be doing some kind of supporting task for our web application such as:
- processing user entered data
- processing a file uploaded by the user
You also want these helper containers to live alongside your application container.
In that case you can have both of these containers part of the same pod so that when a new application container is created. The helper is also created and when it dies the helper also dies.
Since they are part of the same POD. The two containers can also communicate with each other directly by referring to each other as ‘localhost’ since they share the same network namespace.
Plus they can easily share the same storage space as well.
To better understand POD'S lets take a look at them from a different angle.
Let’s, for a moment, keep kubernetes out of our discussion and talk about simple docker containers.
Let's assume we were developing a process or a script to deploy our application on a docker host. Then
we would first simply deploy our application using the command:
docker run python-appThe application runs and our users are able to access it.
When the load increases. we deploy more instances of our application by running the docker run command more times.
docker run python-app
docker run python-app
docker run python-app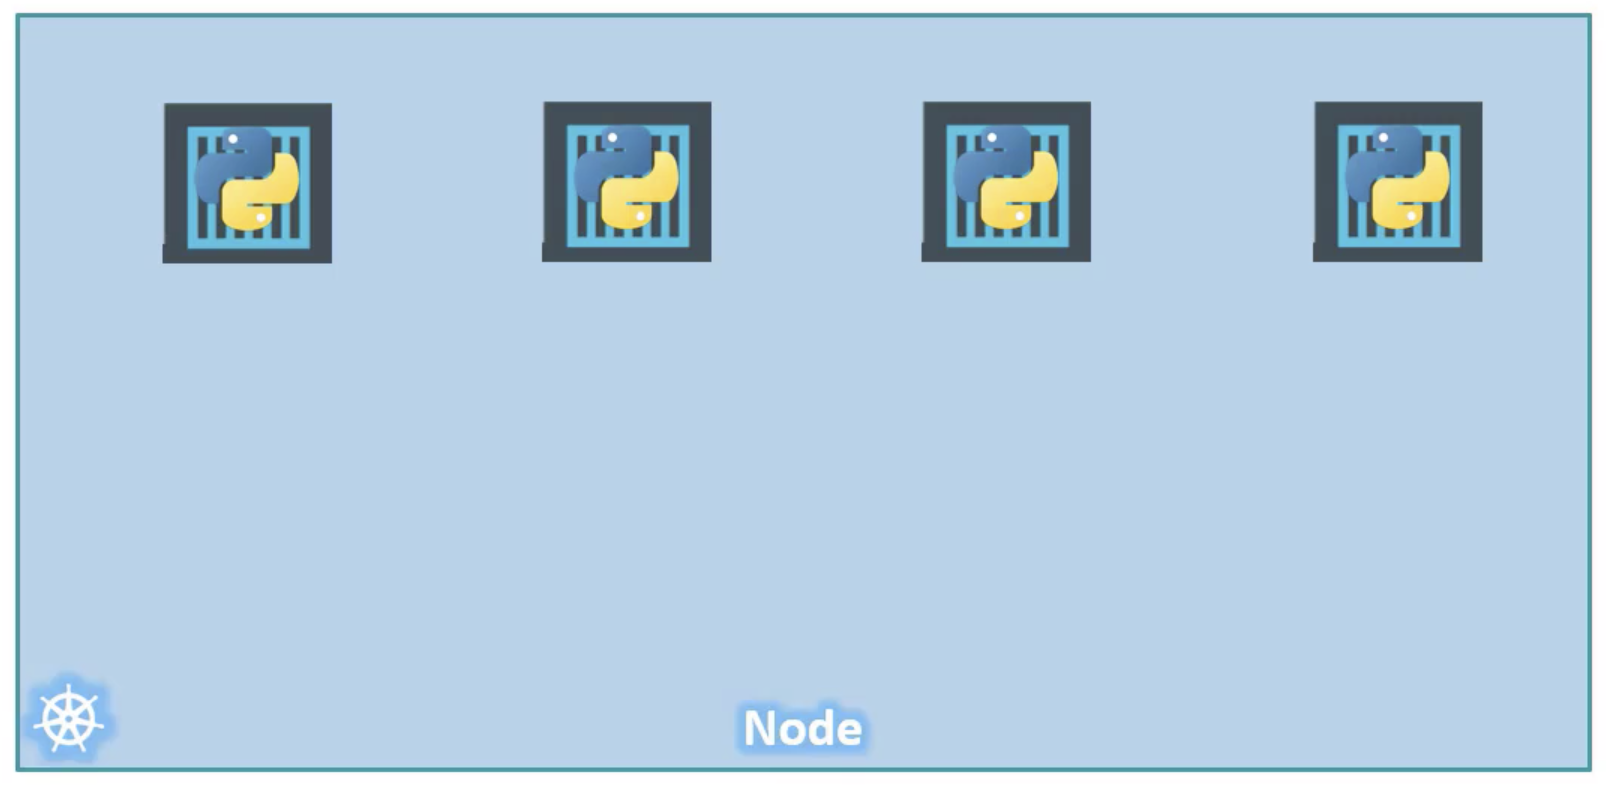
This works fine and we are all happy.
Now sometime in the future our application is further developed and undergoes architectural changes, grows and gets complex.
We now have a new helper container that helps our web application by processing or fitting data from elsewhere.
These helper containers must maintain a one-to-one relationship with our application container. The helper container also need to communicate with the application containers directly to access data. For this to work, we would need to maintain a map to keep track of what helper containers correspond to which application.
We would need to establish network connectivity between these containers ourselves using links and custom networks.
We would need to create shareable volumes and share it among the containers
We would need to maintain a map of that as well. And most importantly we would need to monitor the state of the application container and when it dies, manually kill the helper container as well, as it's no longer required.
When a new container is deployed we would need to deploy the new helper container as well.
With PODs, kubernetes does all of this for us automatically.
We just need to define what containers a POD consists of and the containers in a POD by default will have access to the same storage, the same network namespace, and same fate as in they will be created together and destroyed together.
Even if our application didn’t happen to be so complex and we could live with a single container, kubernetes still requires you to create PODs.
This is good in the long run as your application is now equipped for architectural changes and scale in the future.
It is imporant to note that multi-pod containers are a rare use-case.
How to deploy PODs
Earlier we learned about the kubectl run command.
kubectl run nginxWhat this command really does is it deploys a docker container by creating a POD. So it first creates a POD automatically and deploys an instance of the nginx docker image.
But were does it get the application image from?
For that you need to specify the image name using the --image parameter.
kubectl run nginx --image nginxThe nginx image, is downloaded from the docker hub repository. Docker hub is a public repository where latest Docker images of various applications are stored.
You could configure kubernetes to pull the image from the public docker hub or a private repository within the organisation.
Now that we have a POD created, how do we see the list of PODs available?
kubectl get podsThe kubectl get PODs command helps us see the list of pods in our cluster.
Also remember that we haven’t really talked about the concepts on how a user can access the nginx web server.
And so in the current state we haven’t made the web server accessible to external users.
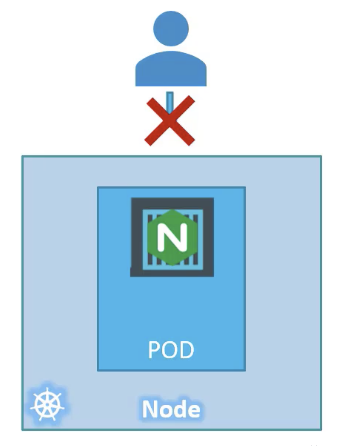
You can however access it internally from the node.
For now we will just see how to deploy a POD and in a advanced post we will get to know how to make the service accessible to end users.